
Egg incubators have revolutionized egg hatching, providing efficient and hassle-free options for chicken breeders. These machines eliminate the stress and uncertainty of traditional incubation procedures by providing a regulated environment for optimal incubator egg development.
This article will provide a step-by-step guide on hatching chicken eggs using an incubator and examine the various available machines, including their advantages and disadvantages.
Market share of eggs incubator machine
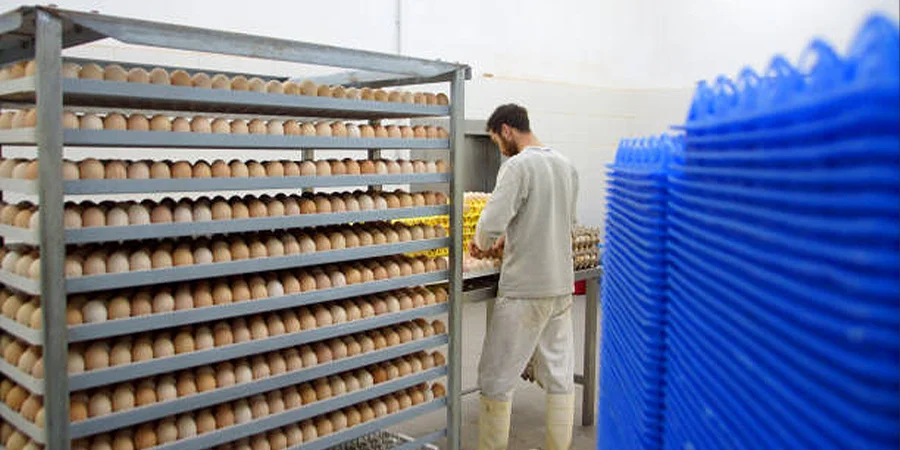
Research done by Fact.MR shows chicken egg incubators are majorly in demand due to the rising consumer demand for eggs and chicken meat. Worldwide production and consumption of chicken meat are increasing as people’s health awareness and inclusion of a diet high in protein increases. The capacity of an incubator machine to enhance egg hatchability contributes to the growth of the hen population. Increased population, consequently, increases the demand for egg incubators.
Within the forecast period of 2022 to 2032, the segment is expected to experience the fastest CAGR growth of 6%. The US, China, and Brazil are the world’s top producers, consumers, and traders of chicken meat. The United States, China, and India are the major producers of eggs.
Types of egg incubator machines
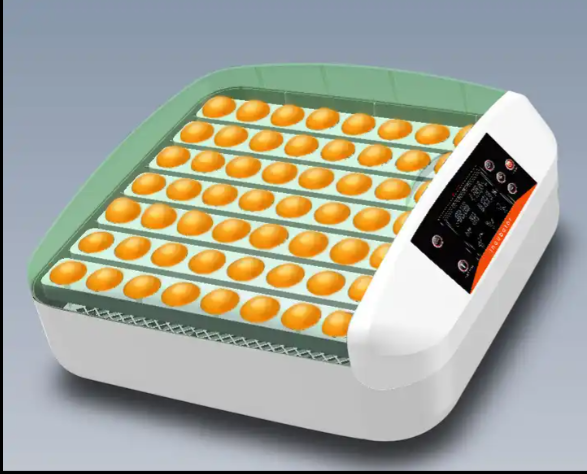
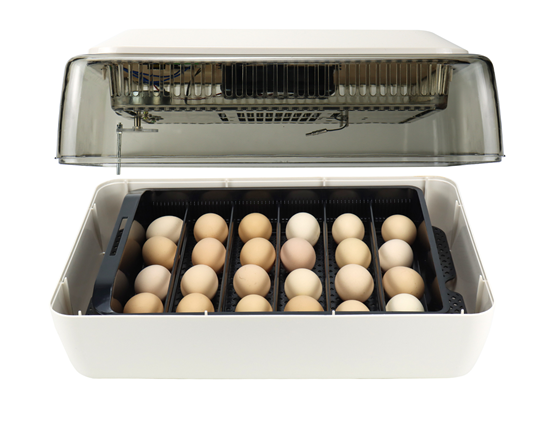
1. Still air incubator
Still-air incubators are egg incubators without a fan. To disperse heat inside the incubator, they rely on natural convection. Since the heat typically comes from above, the top of the incubator becomes considerably hotter than the area where the eggs are. To incubate eggs, the temperature must be between 100.5 and 101.5°F.
These chicken egg incubators can hold between 6 and 48 eggs. Still-air incubators are generally less expensive, with the basic models starting at about US$50 to US$300 for high-end models.
Pros
- They have a built-in thermostat to make adjusting the temperature during the hatching process simple
- They are perfect for small-scale farmers because they are simple to use
- They are a cost-effective choice for beginners or those on a budget
Cons
- The lack of a fan for air circulation might cause temperature changes inside the incubator, which can cause the eggs to heat up unevenly
- Slower hatching as a result of possible temperature changes
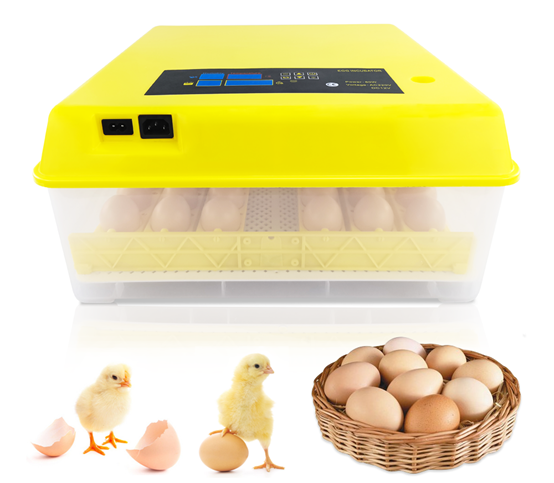
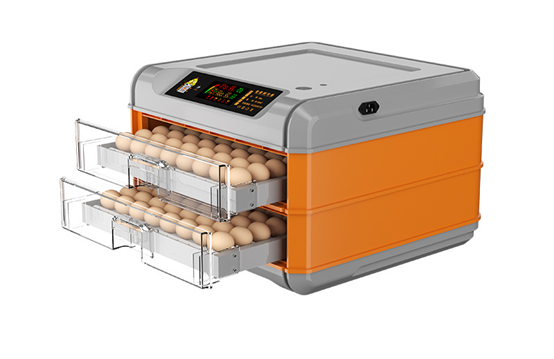
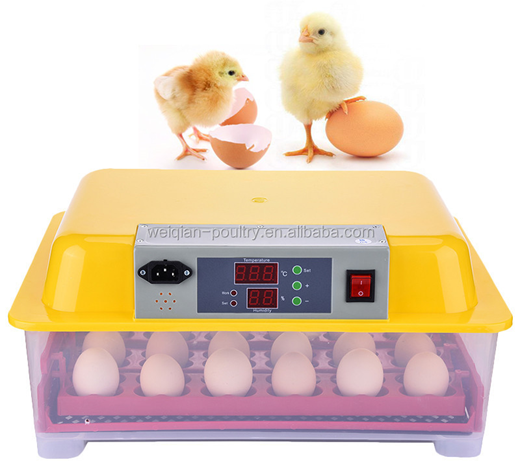
2. Forced air incubator
As opposed to the still-air incubators, they include an integrated fan. The fan distributes warm air throughout the incubator chamber. This forced air circulation maintains an atmosphere with a consistent temperature, which is necessary for successful egg hatching. In a forced-air incubator, eggs should be kept between 99.5°F and 100°F.
It can hold 12 to more than 200 eggs. Forced air egg incubators range in price from moderate to expensive, depending on the model. Small, simple models cost around US$150. For larger models, prices range from US$500 to several thousand dollars for models made for commercial use.
Pros
- A heater and a thermostat keep the temperature steady
- An integrated fan that helps maintain an equal airflow for a stable hatching environment
- Higher hatching rate compared to still-air chicken incubators
- An automatic mechanism for turning eggs
Cons
- The built-in fans can generate noise during the operation
- More power consumption due to the constant operation of the fan and heater
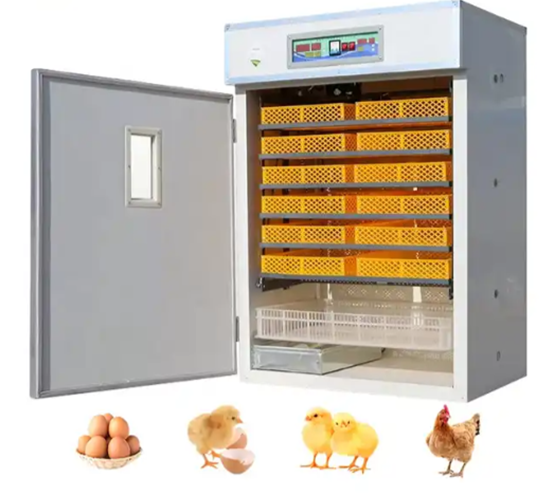
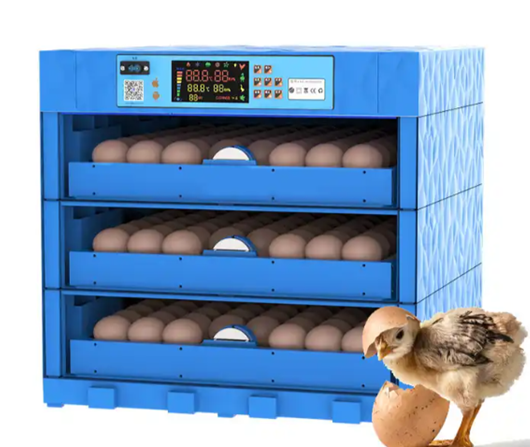
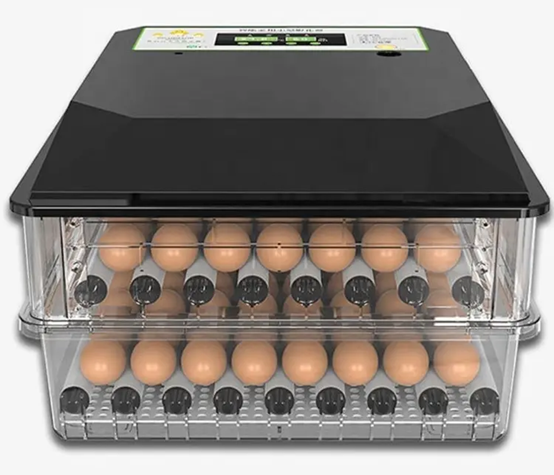
3. Automatic incubator
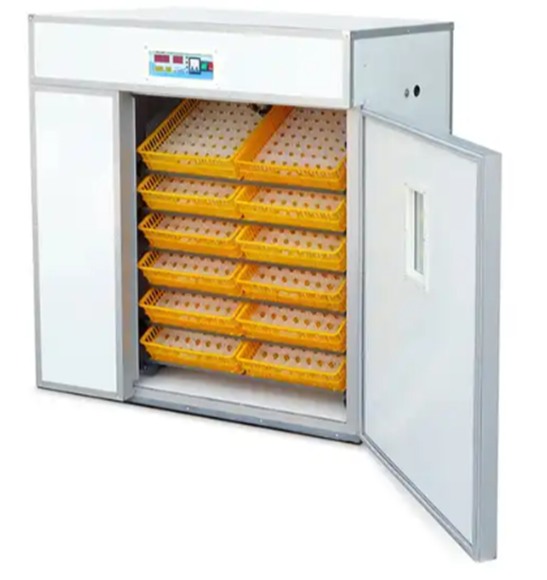
The egg turning in an automatic incubator is completely automated. Once the machine is set up, egg rotation is accomplished automatically by a motorized egg tray. Most automatic egg incubators have a digital display for temperature, humidity, and hatch day countdown.
These incubators exist in various sizes, with capacities ranging from a few dozen to several hundred or even thousand eggs. This scalability enables poultry farmers to expand their businesses and improve egg production without investing in new equipment or labor. Automatic incubators range in price from US$200 to US$800 or more, depending on the capacity and model.
Pros
- They offer maximum convenience
- They can create a consistent and controlled environment for egg development
- They have a much higher hatch rate
Cons
- Relatively expensive compared to other types
- Frequent maintenance required
How to hatch chicken eggs using an incubator
Step 1: Incubator setup
Set up and operate your egg incubator machine for at least 24 hours before placing your hatching eggs inside. This time will allow the environment inside the incubator to stabilize before placing the eggs inside. Temperatures should be adjusted according to the instructions for the specific incubator type. Because location is critical, set your egg incubator in a temperature-controlled environment. Preferably away from drafts and direct sunlight.
Step 2: Egg selection
Choose eggs from healthy birds that are clean and fertile. When delivered eggs arrive, do not immediately place them in an incubator. The yolks take 24-48 hours to settle and reach room temperature. Always properly wash your hands before handling hatching chicken eggs to avoid bacteria from entering through the permeable eggshell. Place the eggs in a cardboard tray with the pointed end in the same room as the incubator.
When you’re ready to put the eggs in the incubator, use a pencil to mark an X on one side of the shell and an O on the other. Marking the shell lets you see that the eggs have been turned properly. Even if you have an automatic egg incubator, labeling it allows you to confirm that the turning mechanism is functioning properly.
Step 3: Incubation, days 1-17
Hand-turn (if not using an automatic turner) the eggs every 6 to 8 hours for the first 17 days to improve hatch rates. Failure to frequently turn the egg might result in embryo adherence to the shell membrane. Maintain the temperature and humidity levels of the egg hatcher while replenishing the water reservoir as needed. Check the development of embryos with a candling device.
The ideal days to monitor changes in the embryo are 7 and 14. On day 7, look for a little dark area on the yolk with radiating blood veins resembling a spider. The embryo should be larger by day 14, making the egg mostly opaque except for the air sac. Remove any embryos not growing by day 14 to prevent rotting and exploding inside the egg incubator.
Step 4: Lockdown, days 18-20
On day 18 of incubation, stop flipping the eggs by hand or switch off and remove the eggs from the automatic turner. The chicks are almost fully formed and will position themselves within the egg to hatch. You should also raise the humidity of the egg incubator to 65-70%. Note that humidity is a range rather than an exact number. You should prepare a brooder for the chicks the day before the hatch.
Step 5: Hatching, day 21
You will start to hear peeping from inside the eggs on day 21. Some eggs can shake a little due to the chick peeping the shell. It normally takes 24 hours for all chicks to hatch because hatching requires a lot of energy. Resist the need to assist, and don’t put the chicks in a brooder until they are properly dry and fluffy, or they will chill.
Conclusion
Hatching your chicken eggs can be both enjoyable and educational. Following the necessary steps and keeping the ideal conditions will boost your chances of a successful incubator egg hatch. You can enjoy healthy, vibrant chicks for your flock with the benefits of controlled hatching provided by egg incubators from Alibaba.com.
Leave a Reply